Making Stage
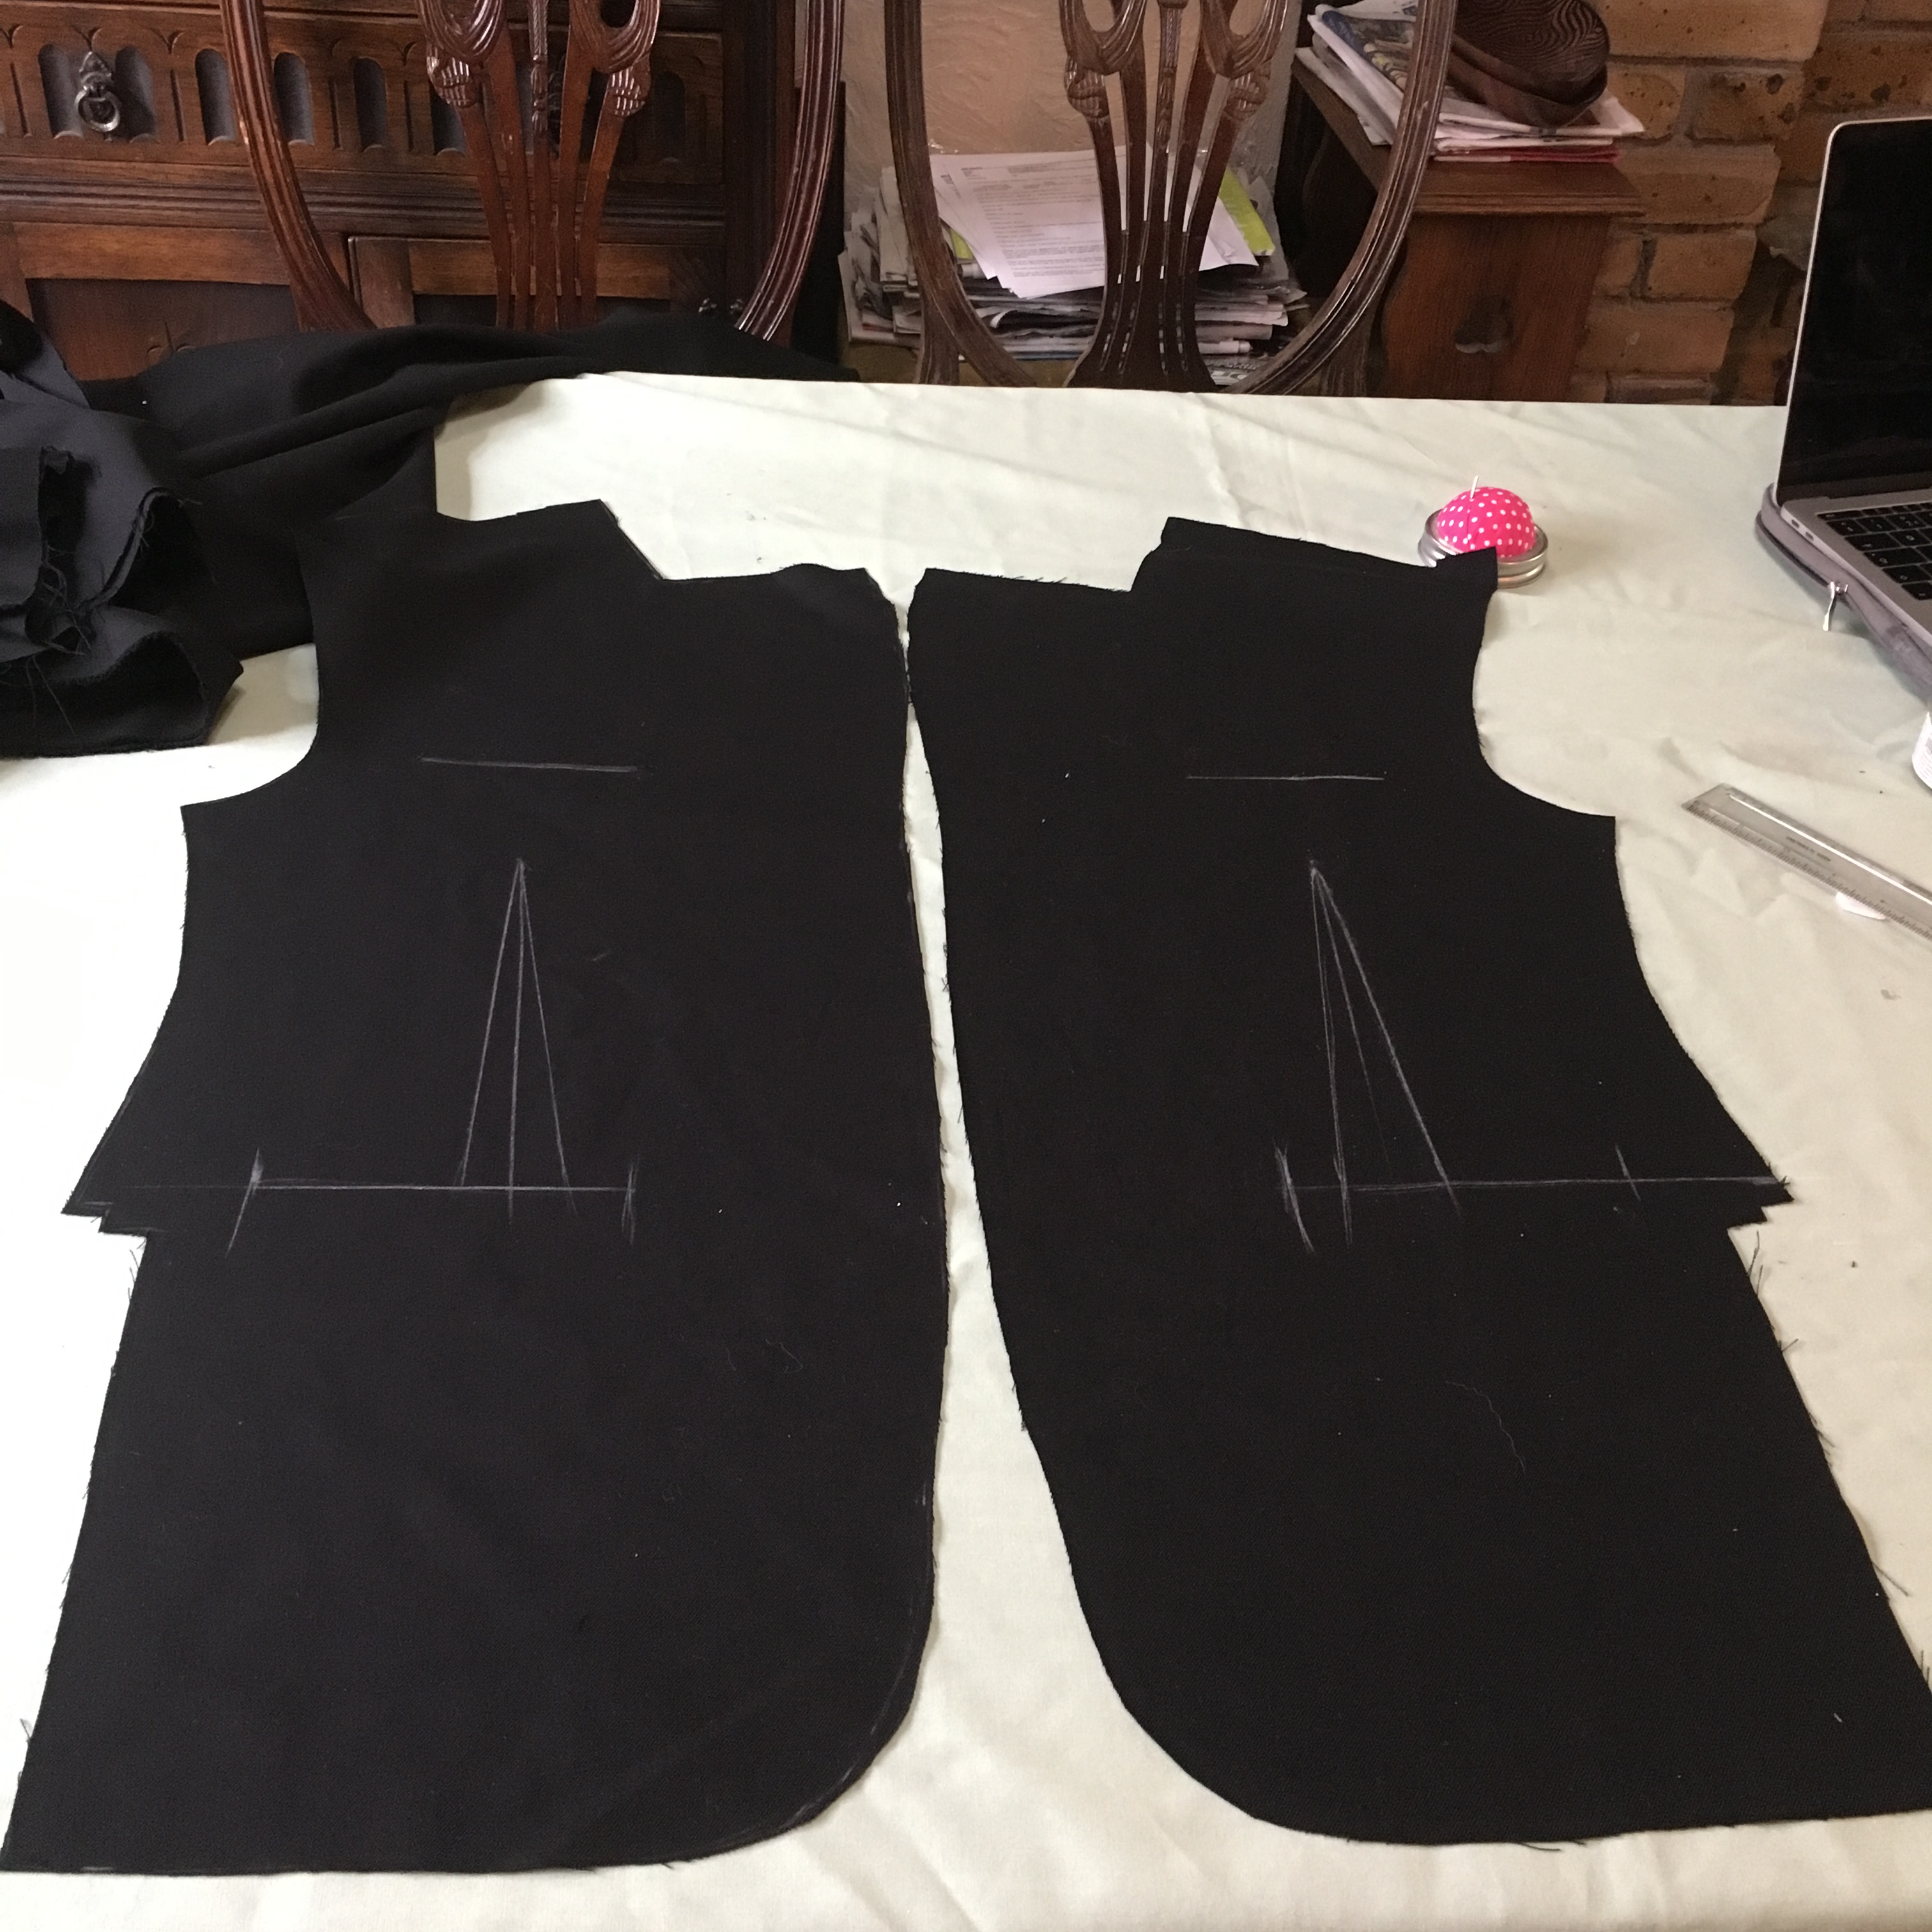
I started with buying 5 metres of suit material, and 5 metres of a 100% polyster lining typed material, I cut a standard suit pattern, which consisted of 2 front panels, 2 side panels, 2 back panels, 2 under sleeve panels and 2 sleeve patterns. I laid out my suit material, and pinned all pattern pieces to the fabric effectively, to save my materials and costs. After cutting out all pieces with a 1.5 seam allowance, I carefully sewed the darts in the front panels of the suit, and marked my own pockets through the darts, the pattern didn’t have pocket marks so I referred to another suit and looked online to find out exactly where they should be placed. After this I made my own pocket patterns, to impersonate two pockets on the front panels of the garment to add detailing, I then cut these patterns out, two in suit material and two in the lining so that when you lift the pocket squares you see my patterned lining on the inside. I then pinned and sewed this to the front. A mistake I made was cutting pocket holes into the front, due to me wanting to add actual pockets but later decided not to, which made it difficult to neaten and finish off perfectly. I then sewed the front panels to the side panels, whilst neatening the inside seams with pinking sheers to reduce bulk on the outside of the garment. I then sewed the top and under sleeves together ensuring I was matching the notches, I then eased the sleeves into the arm holes, pinning whilst going, which took a while due to getting to the end and still having a large amount of sleeve, which meant I had to unpin and spread it out evenly to avoid folds and bunches in the sleeves. I also had to ensure where the sleeve and the top seam (where the front and back panel meets) was sewn carefully to ensure the seam on the outside had no extra material and where all three fabric pieces met was neat.
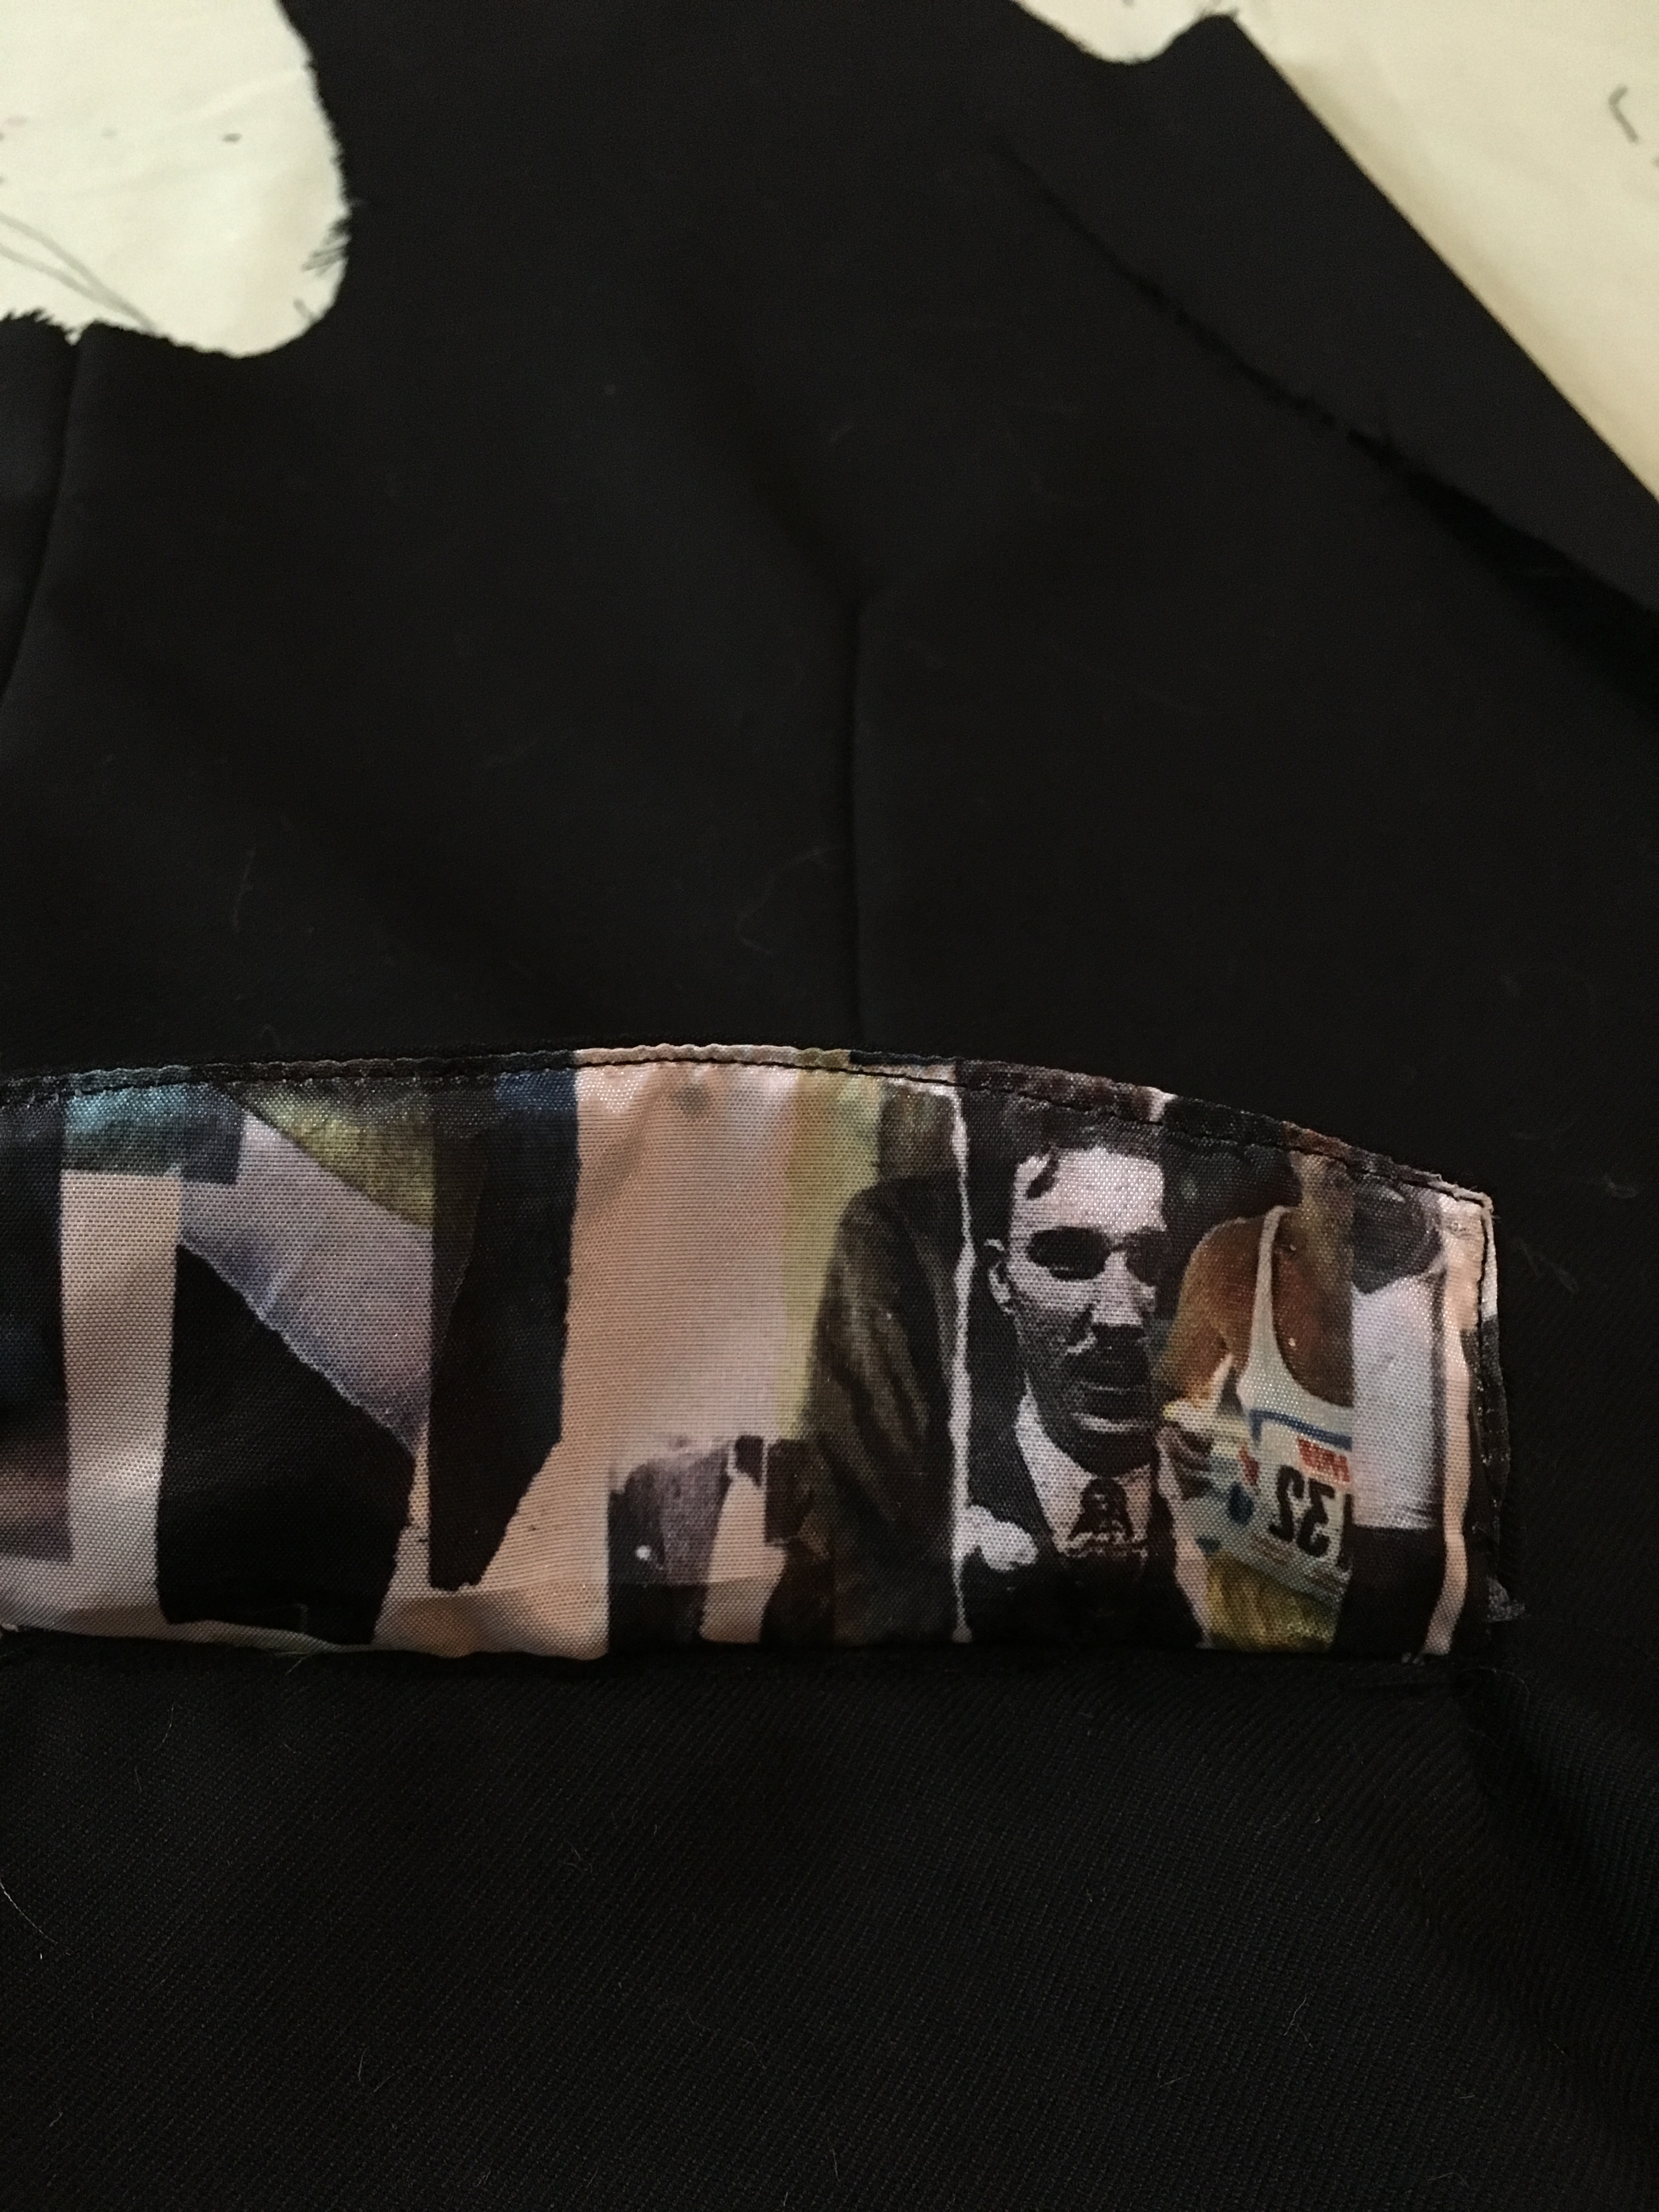
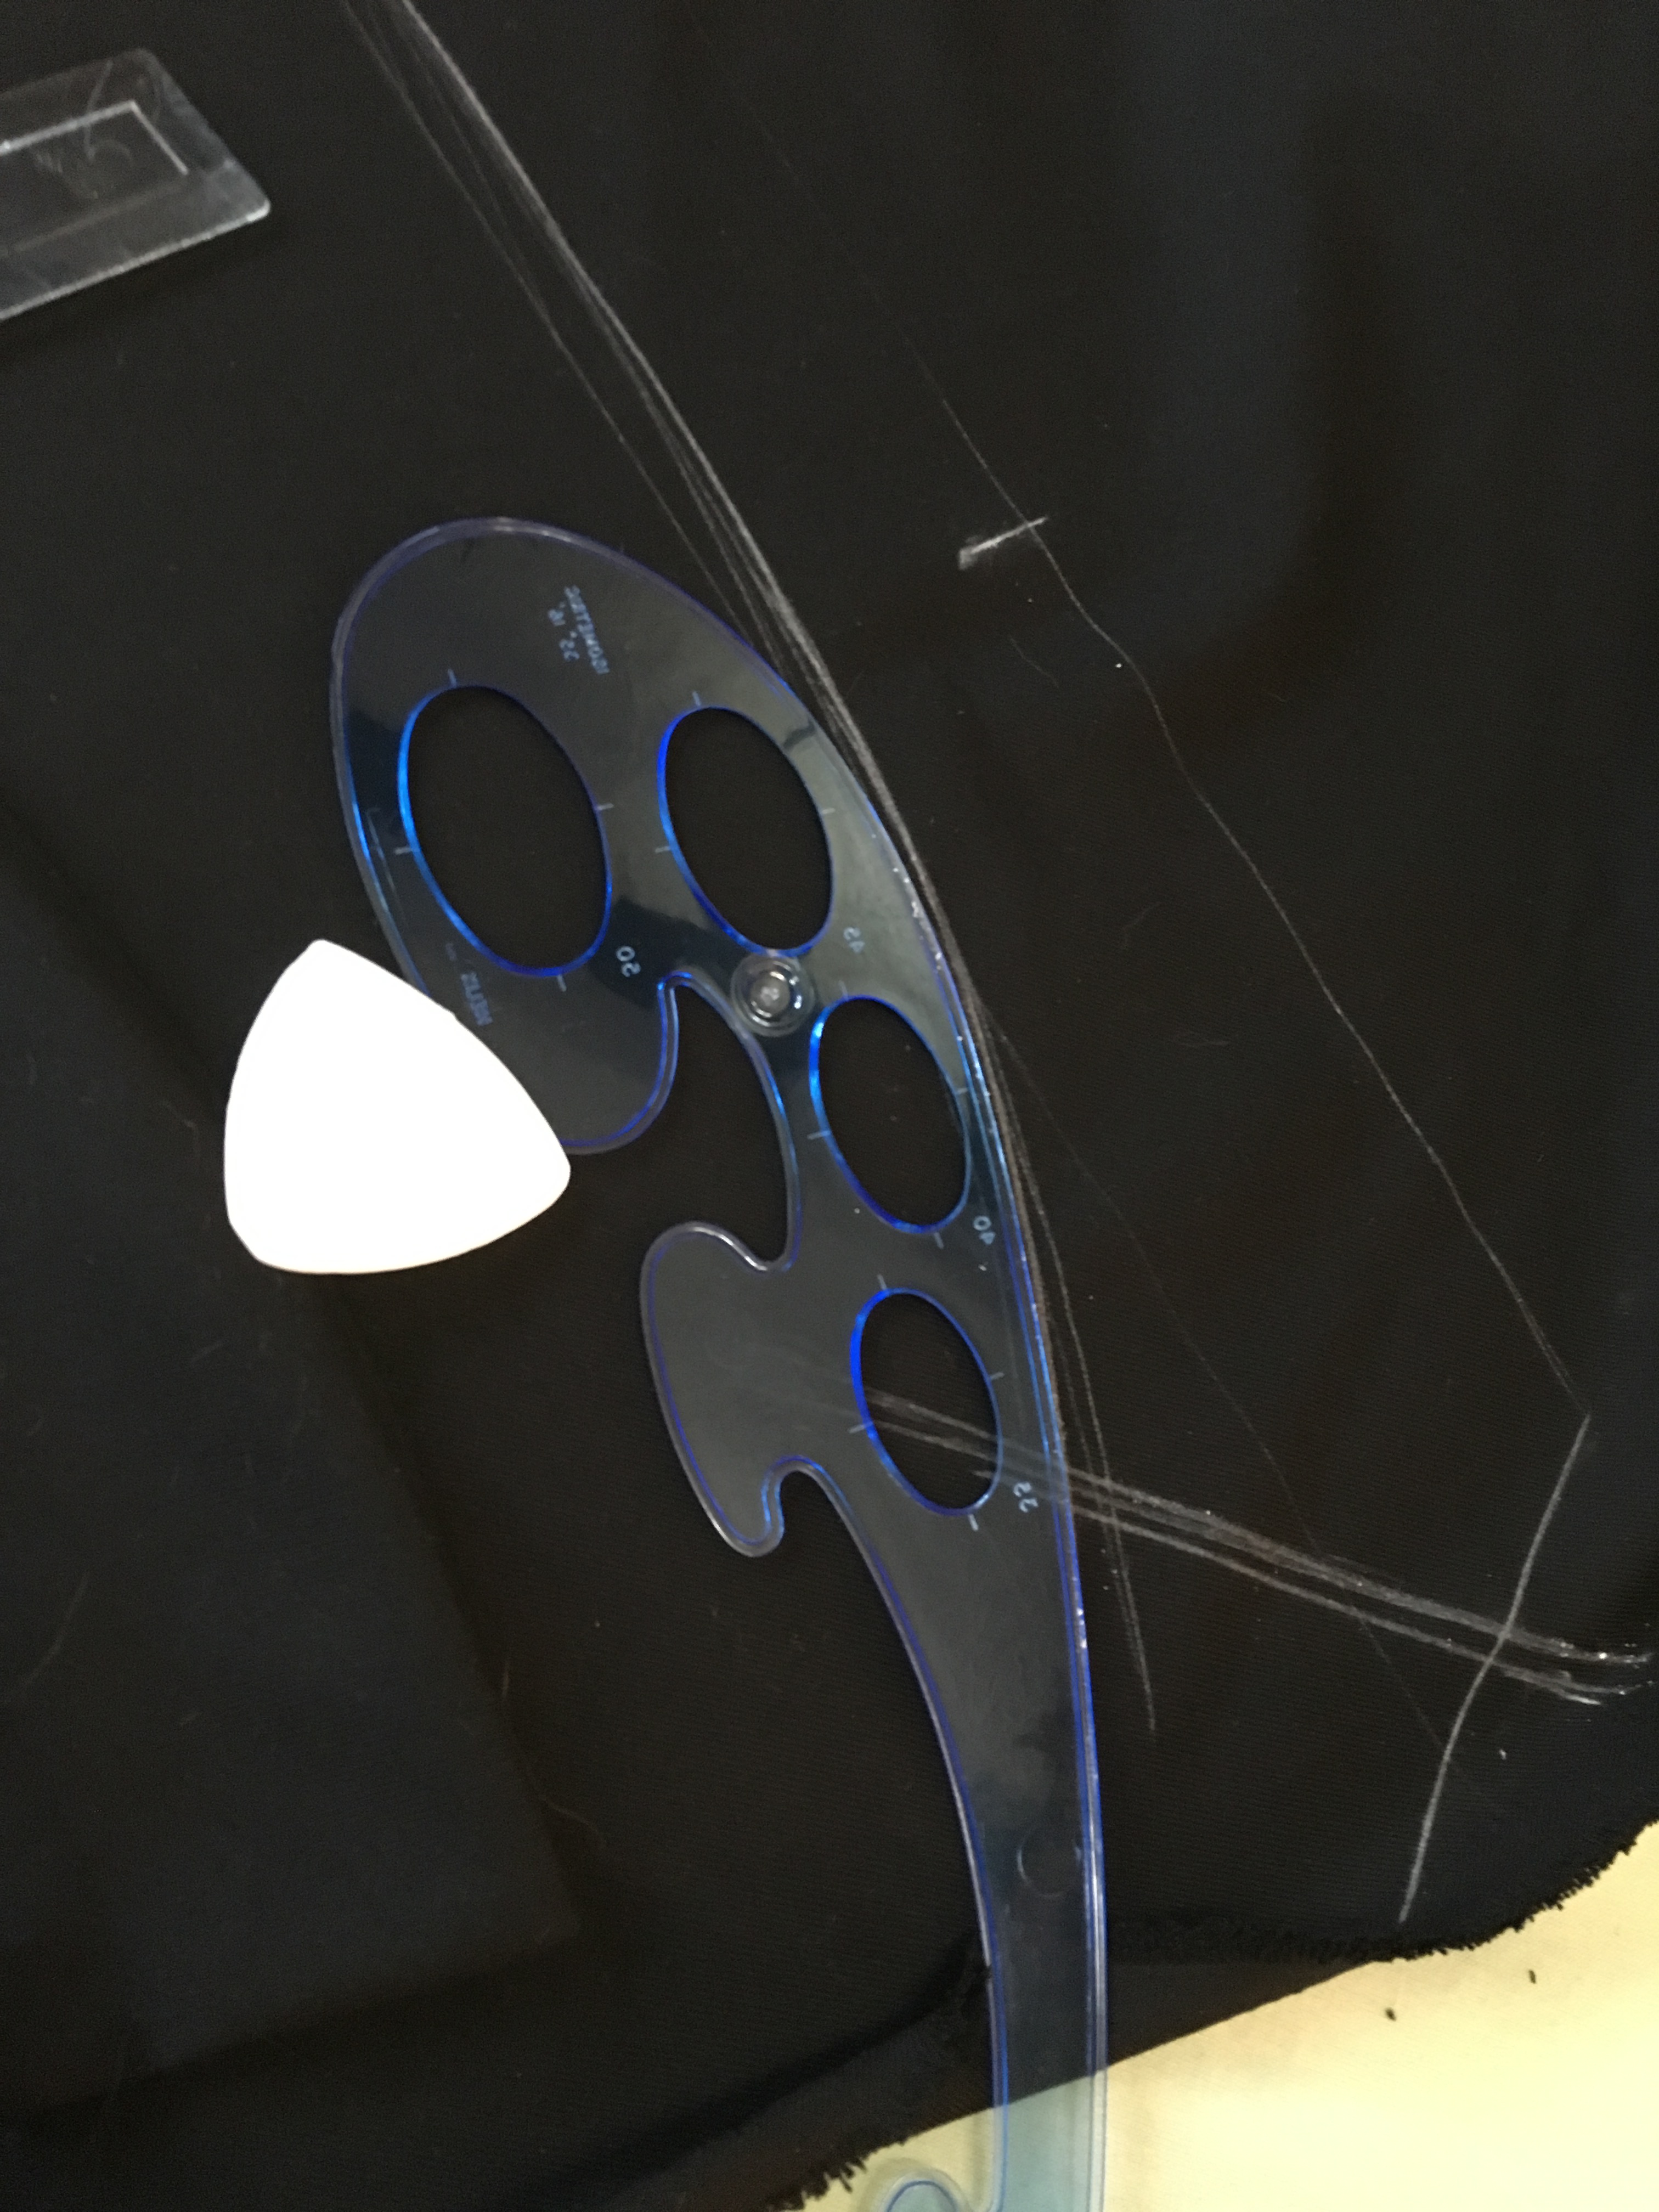
After completing the outer suit and being happy with the result I repeated this with the lining, but where I could cut two of all panels at the same with the suit material, due to the lining having my print on one side, I had to cut panels out separately. I created my own pattern for the collar as there wasn’t one with the block pattern I used, therefore I looked at other suit jackets and actually cut into the collar of one to see the collar piece, I then used tailoring chalk and a pattern ruler to create my own, I also made lapel patterns and changed the ones on my pattern as the lapels that came on the pattern didn’t fit with my idea and concept or my designs, so based on my design I drew and measured a new lapel and fitted it into the suit. After the lining of the suit was complete I sewed the garments right side to right side and folded it inside out, catching the collar in the middle, after looking at the suit I decided the lining needed to be taken in slighting as there was a lot of loose material, so I unpicked the where the back panels met the collar and took it in slightly then top stitched the bottom of the suit jacket to finish it off.
For the trousers, I cut out the front and back panels in my material and lining, I then sewed the suit material front and back together, and the lining. I left the front open where they meet which I then sewed a zip into. I then added a waistband. I wanted to add the lining to be able to turn up the bottoms to reveal my lining at the bottom of the trouser leg. I wasn’t completely happy with the outcome of the trousers, due to the zip not being perfectly neatened, therefore if I were to remake the garment I would leave myself more time to make the trousers and add a button onto the waistband.
My favourite part to this suit was that I made it so that it could be warn reversible, with the lining being the outside or the suit material, I wanted to make it this way to ensure my lining was visible and so that it had two styles, and also to represent my family and the traits that I discovered, and the journey my family has been on so far.